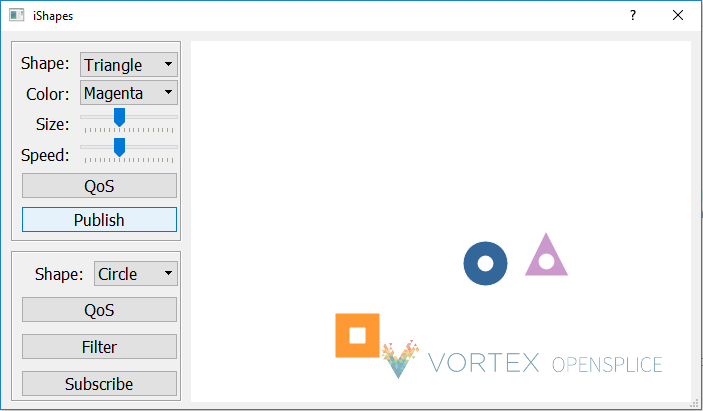
The ishapes example is a visual example to show DDS in action. OpenSplice publishes and subscribes to different coloured shapes seen on the screen.
Running the OpenSplice ishapes example
What does the ishapes example show?
The ishapes example is a visual example showing DDS in action. It allows you to create a writer which will write different instances of various shapes. These can be circles, squares or triangles and they can have different colours. The writer writes the shapes and they appear moving on the screen. You can then create a reader to read different types of shapes. These change colour to show they have been read.
Where do I find the ishapes example?
The ishapes example can be found in the demos/ishapes directory in the OpenSplice installation. The example is prebuilt and you should be able to run it without compiling. The example comes with source code case you wish to build the example yourself.
There is a readme file in this directory which takes you though the steps to rebuild the example.
Prerequisites
Java
To run the OpenSplice launcher you need Oracle Java 1.8. You need JAVA_HOME set and the JRE bin should be on your PATH
QT4 Development Environment
To build the demo you need a QT4 development environment installed. You can download this from http://qt-project.org/
The QT4 versions are in the download archives.
Before running the example you need to ensure that the QT libraries are on your PATH. These are in the bin directory of the QT installation. On some operating systems these will be on the PATH by default.
The OpenSplice environment should be set
- On windows – This is set when you install OpenSplice
- On Linux – You need to source the release.com script in the OpenSplice install directory
How do I run the ishapes example
To run the ishape example:
Start the launcher from the start menu on windows or using the command: ospllauncher
If you are using shared memory configuration start the OpenSplice daemon from the controls section of the launcher or by using the command: ospl start
Go to the tools section of the launcher and start a console.
Run the command: demo_ishapes.exe
The example window should appear.
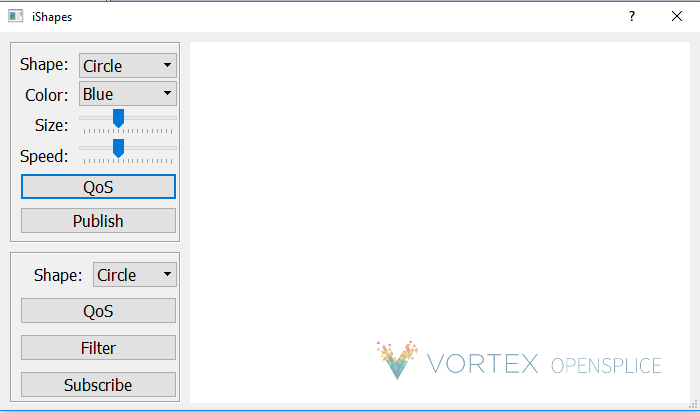
From the launcher start another console window and run the command: demo_ishapes.exe again.
You should now have two example windows. We can use one window to publish some shapes and the other window to read these shapes.
Publishing some shapes
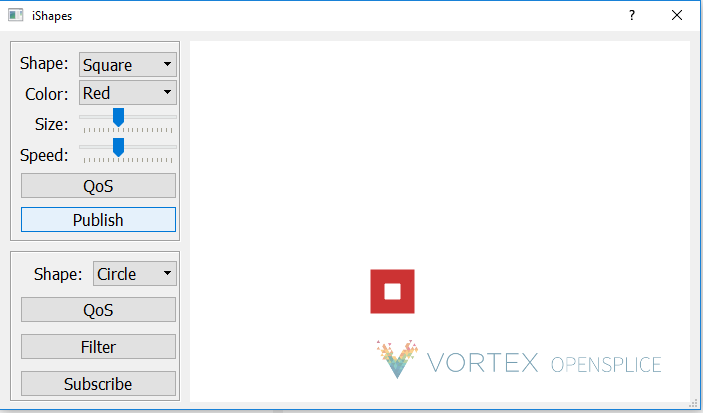
You can publish shapes using the top right hand side box. The drop down menu next to shape lets you choose to publish a circle, square or triangle. The drop down box next to colour lets you choose the colour you want the shape to be. The size slider will make the shapes bigger or smaller. The speed button will make the shapes move faster or slower. The QoS button will allow you to choose the QoS properties you want the shape to have. Once you are happy with these settings click publish and you should see the shape moving in the window.
In this picture I have chosen to publish red squares.
Subscribing to shapes
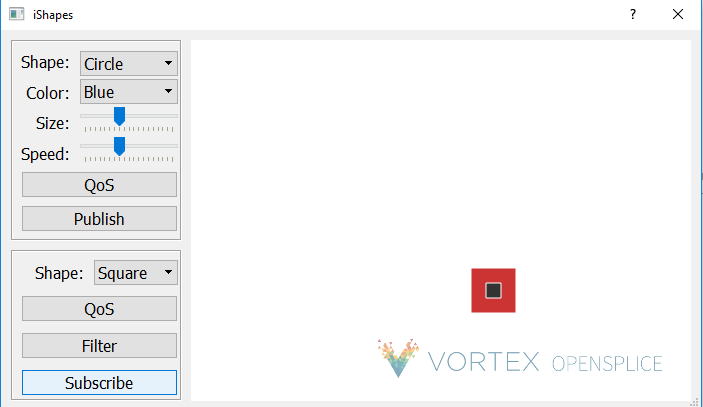
To subscribe to shape use the subscribe box on the bottom right of the example window. Choose the shape you want to subscribe to and click subscribe. When a shape has been published you will see it in the reader window with a black dot in the centre to signify that it has been read.
This picture shows that the red square published previously has been read.
Troubleshooting
Exception – Error Failed to create Domain Participant -unable to connect to Domain
When starting the demo_ishapes example you may see the error “Error Failed to create Domain Participant -unable to connect to Domain”. You may see a pop up window as shown below:
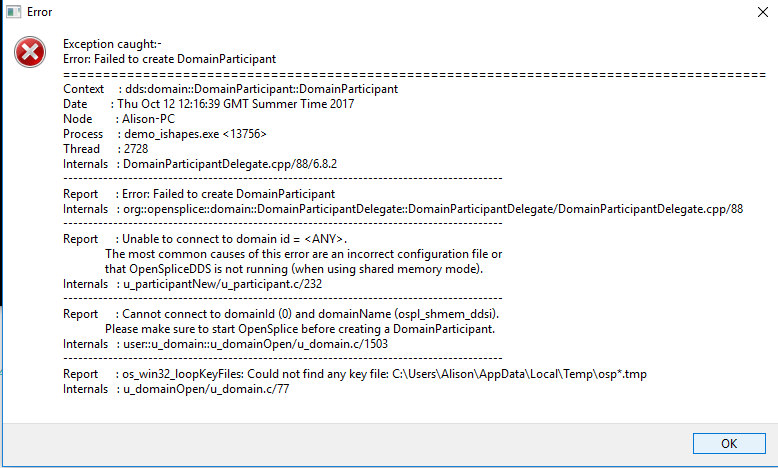
If you are using shared memory configuration check that you have started the OpenSplice deamon. You can do this using the command: ospl status. This error is normally seen when the OpenSplice deamon is not running. Start the deamon then try running ishapes again.
Exception – Error Failed to create DomainParticipant – Failed to map the shared memory segment
Occasionally you may see errors that say “Failed to map the shared memory segment” even though the OpenSplice deamon is running.
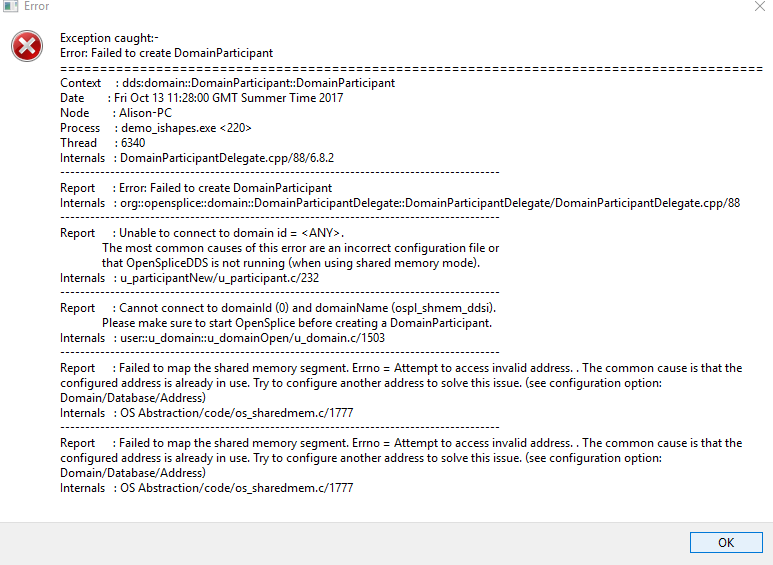
When the OpenSplice deamon starts it starts at a memory address in the virtual memory space which is specified by the configuration file. Each process that attaches to the current Domain gets mapped into this memory space. When ishapes starts OpenSplice will try to map this process into the memory space but there is no free memory available
To get round this you need to change the memory address where the OpenSplice deamon starts.
To change the start address of the virtual memory space you need to add the option
<Address>0x200000</Address>
to the configuration xml file into the section
/Name>
<Database>
<Size>10485670</Size>
</Database>
This address must be the same for each process communicating within a domain. The possible values are platform dependent.
- Default value: 0x40000000
It is useful to use a Memory Mapper to help select the value for the memory address.
- Windows : VMmap (Sysinternals)
- Linux : pmap –x <pid>
This can be done using the OpenSplice configuration tool.
Read more: How to configure shared memory

