This article explains how to go about installing the Record and Replay Manager, a tool to control OpenSplice Record and Replay Services (RnR Services) and to inspect and change recorded data.
Record and Replay is a pluggable service which comes with OpenSplice. You will need to have an OpenSplice installation. To use the Record and Replay (RnR) service you need to configure it. The OpenSplice Record and Replay manager is available as a separate download. In order to use it you need to install it.
Installing the Record and Replay Manager
Pre-requisites for installation.
The following software should be installed:
- Oracle Java version 1.6 or above.
- OpenSplice DDS
The OpenSplice DDS installation does not need to be on the same system in order to control the RnR service. However, some features of the RnR manager do require a local installation in order to operate. For example, connecting to a locally running OpenSplice domain using Domain URI, or Domain ID, and the storage Import/Export functions.
The Record and Replay Manager can be installed on the following platforms:
- Windows
- Linux
Windows and Java
To ensure Java can run under Windows you need to configure your environment variables, JAVA_HOME and PATH.
JAVA_HOME must contain the path to java (e.g. C:\Program Files\Java\jre1.8.0_251), and you should add %JAVA_HOME%\bin to PATH.
How to install the Record and Replay Manager
On Linux first enable execute permission on the installer. You can then run the installer from the command line:
% VortexOpenSpliceRNRManager-<version>-<platform>-installer.bin
where <version> is the release version number and <platform> is the build for your platform.
On windows start the installer by double clicking on the filename in Windows Explorer:
VortexOpenSpliceRNRManager-<version>-windows-installer.exe
where <version> is the release version number.
This will start the set-up wizard.
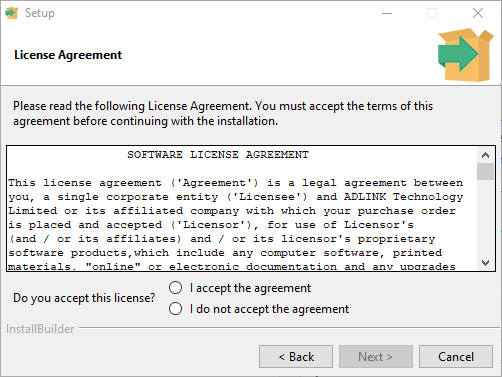
Click Next to continue. The next screen will ask you to accept the license agreement. Click “I accept the agreement” and then you can click “Next”.
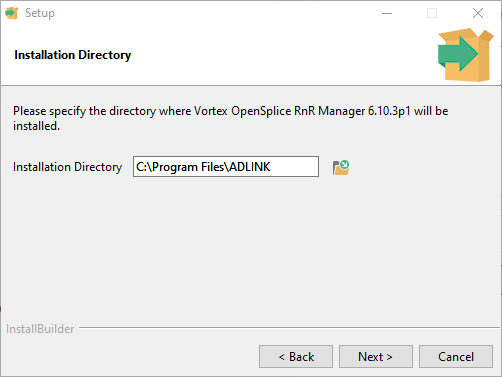
You now need to choose where you wish to install the RnR manager. You can choose the default or browse to the directory where you wish to install the software. Once this is set correctly chose “Next.”
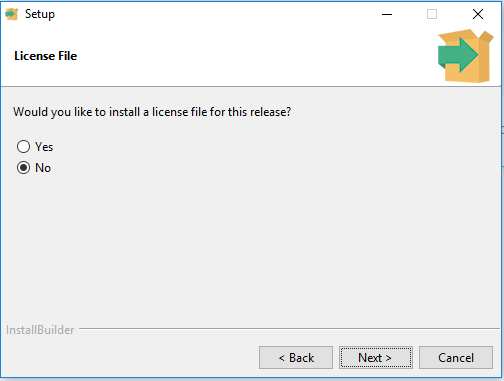
Next it asks you if you wish to install a license file for this release. You need a license for the product to work correctly. If you have one choose yes. You can add a license later if you do not have one available.
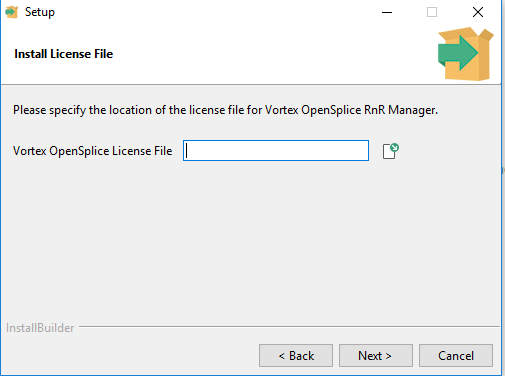
Choosing “Yes” will bring you to a screen where you can browse to the location where you have the license file installed.
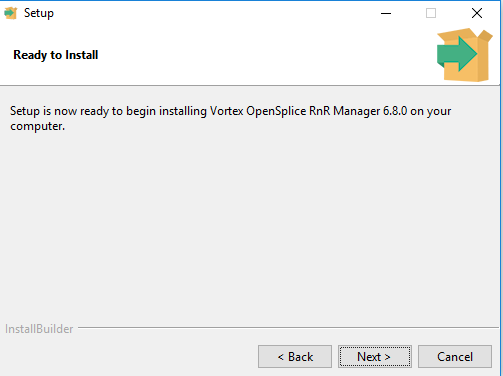
After clicking next you will be told that set up is ready to install the RnR manager tool. Clicking “Next” will start the installation.
Starting the RnR Manager Tool
To start the RnR manager you need to execute the startRnRManager script. The script will ensure that all the OpenSplice environment variables have been set correctly before starting the application.
Windows:
- Click the “Vortex OpenSplice RnR Manager” start menu shortcut.
- Or navigate to your Vortex OpenSplice RnR Manager install directory. In the “eclipse” folder, execute the file “startRnRManager.bat” (eg. <RnR install dir>/eclipse/startRnRManager.bat).
Linux:
- Navigate to your Vortex OpenSplice RnR Manager install directory. In the “eclipse” folder, execute the script “startRnRManager.sh”. (eg. <RnR install dir>/eclipse/startRnRManager.sh)
- Set the OSPL_HOME path preference. In the main menu, select Window/Preferences to bring up the preferences dialog.
In the OpenSplice tab, set the OSPL_HOME Path to your ospl directory. (eg. /home/user/ZettaScale/OpenSplice/7.x.x/HDE/x86_64.linux)
This preference only needs to be set on first startup. - Close OpenSplice RnR Manager and restart the startRnRManager.sh script as in step 1.
Command Line Options
The startRnRManager script allows you to pass in command line options to the application.
Any command line options accepted by an Eclipse application are also accepted by RnR Manager. A particularly useful option is -data <directory>. This allows you to specify a custom directory for the RnR Manager workspace. This is helpful if the default directory is shared or write protected.
Example of starting RnR Manager with a non default workspace location:
<path-to-RnRManager>/startRnRManager.sh -data /home/user/rnrworkspace
<path-to-RnRManager>\startRnRManager.bat -data C:\Users\user\rnrworkspace
Installing a license file
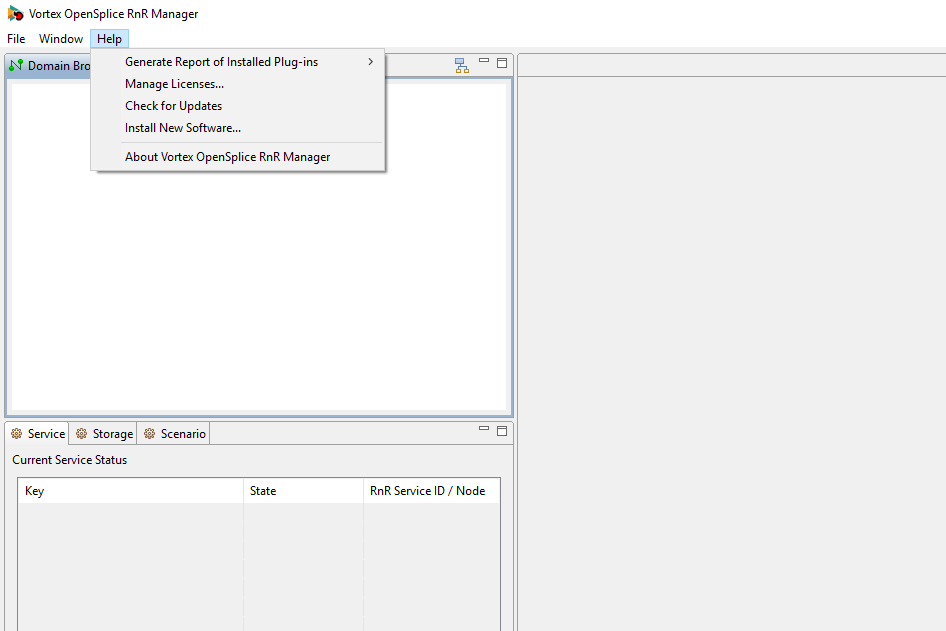
During the installation, you have the option of specifying the license file. If you did not do this you will see a license error message when you start the RnR Manager. To install a license file you need to click the Manage License button. This is found under the Help menu.
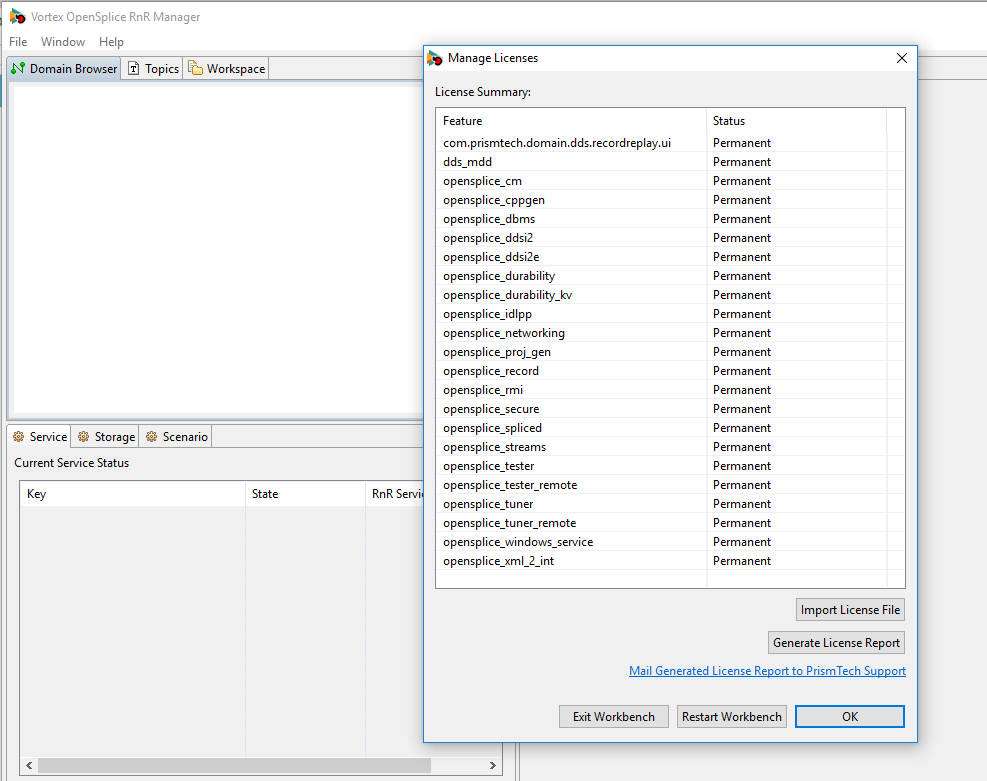
This will bring up a new menu. Click on the Import License File button and you can browse to the location of the license you wish to install. After installing the license you need to click the restart workbench button.
You may also like to watch this article which gives an overview of the Record and Replay Manager
Additionally, to view the guidebook that is installed, click on the “Product Guide” start menu shortcut, or navigate to the RnrManagerGuide.pdf file. (eg. <RnR install dir>/docs/RnRManagerGuide.pdf)

