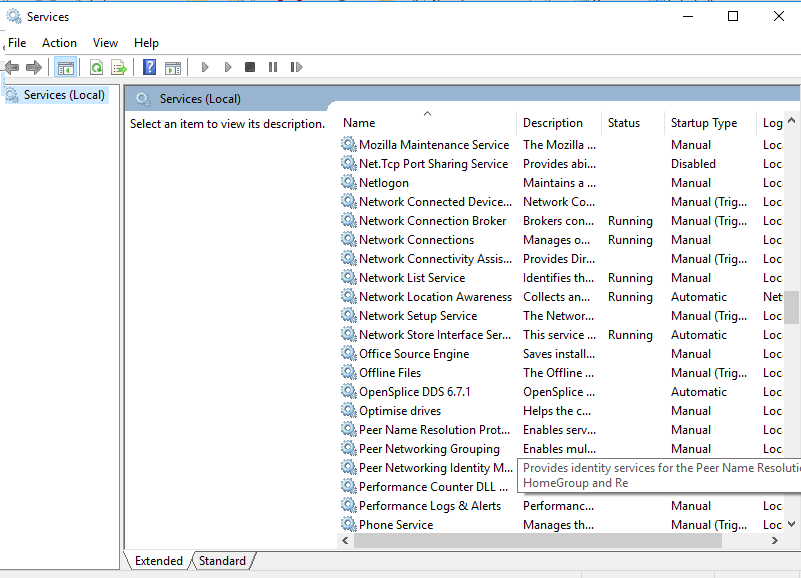
This article explains how you go about installing OpenSplice as a Windows Service. This needs to be done when you install the product.
The Windows installer for OpenSplice is an exe file. To start the installer double click the exe file or run the command from a console window. This will bring up the installer.
The license agreement is shown. Read and choose “I Accept the agreement” to continue.
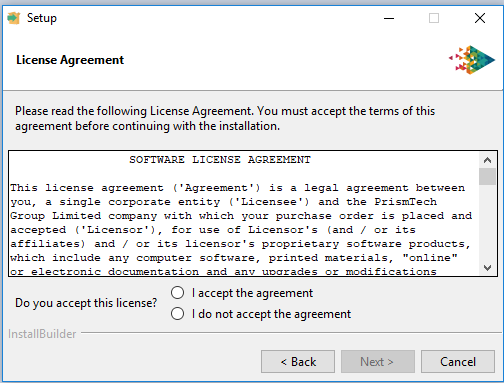
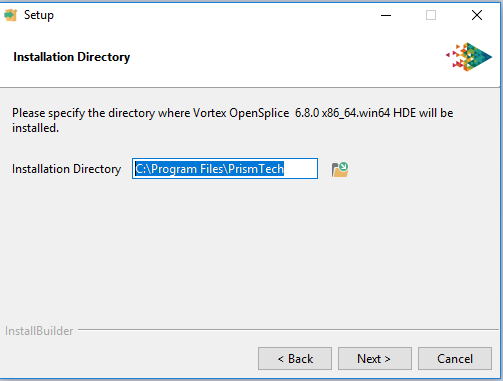
Press Next. You then need to specify which directory where you want to install OpenSplice. Modify the installation directory to the location where you want to install OpenSplice and press next.
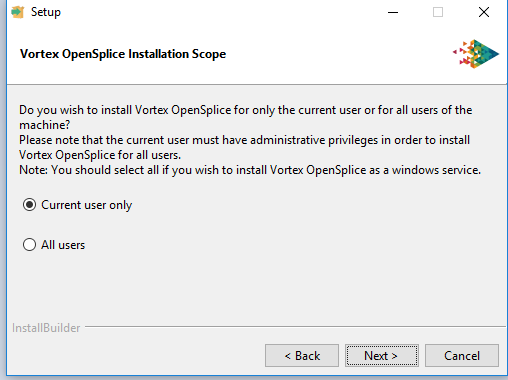
You need to choose if you want to install OpenSplice for the current user or for all users of the machine. To run the OpenSplice services as Windows Services choose all users.
Choose if you want all the users to share a single Global Data Space. To run as a Windows Service you need to share data between all users. Choose this and click Next.
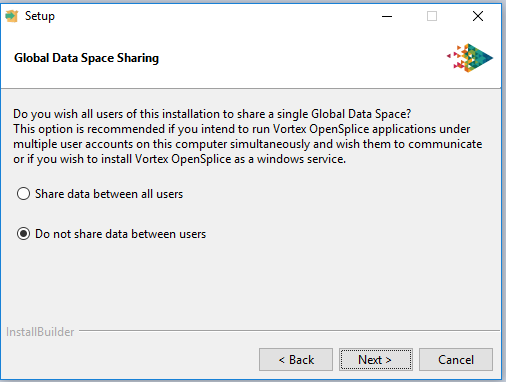
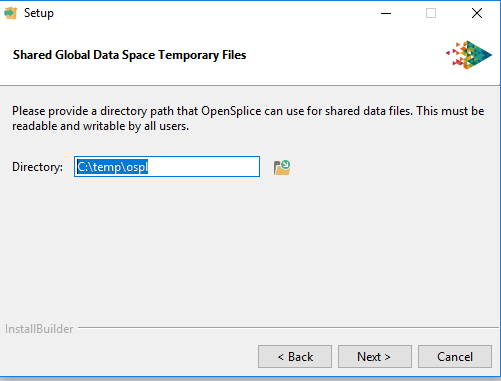
Next you need to choose a directory where the data files will be written to. The default value is C:\tempospl. Use this or select your own value and click Next
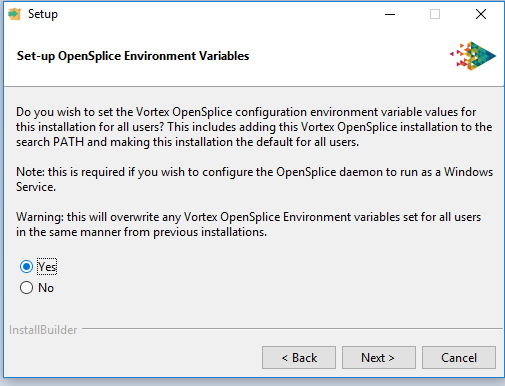
After doing this you need to choose if you want to set the environment variables for the installation for all users. At this point choose yes and press Next
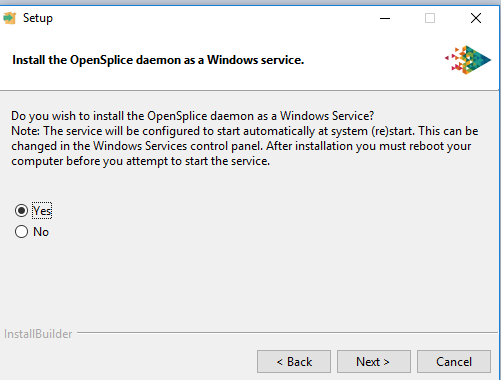
You then get the option to install OpenSplice as a Windows Service. Choose Yes
Finally, you get the option to install the license file. If you have a license file available choose yes
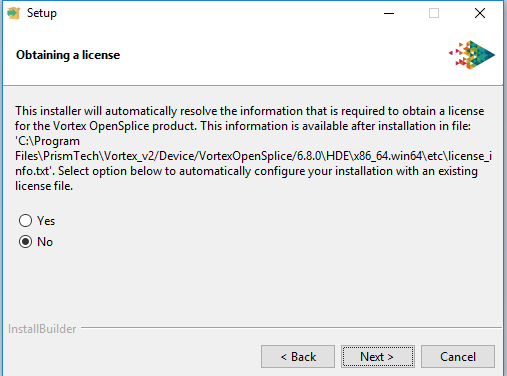
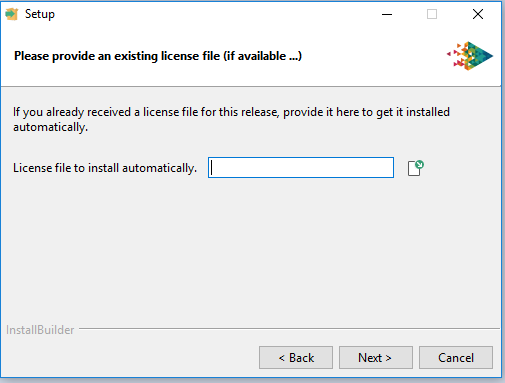
You are then given the option to browse to the license file and choose its directory. After this installation will begin.
When the install finishes you will see OpenSplice in the list of Windows Services and you can control it from here
